8.08.2012

Awkward Family Photos...

I have had this framed Kandinsky's print that I got from a thrift store in college.  It served as a pop of color in the dorm room but hasn't seen artificial light outside of my closet in years.


 I recently decided that I would use the frame for another project (coming soon) and removed what I thought was foam board on the back of the frame.  Once the staples were loosened, this is the treasure that I found!


Instantly I realized that this is a real life Awkward Family Photo that I have had all along!  I hope that you can notice my two favorite things about this pic.  For starters the lady in glasses has her eyes closed, and the lady in the foreground is wearing white pantyhose and you can see the seam line along her toes!  Now I must not judge- someone thought that this photo deemed worthy of being enlarged and framed with a satin hunter green matte.  I am just sad that it took me seven years to realize I had it. 

I do believe that it should be submitted to the glorious website of Awkward Family Photos.  I will leave you with my favorites and let you giggle the rest of your day away.

The Exclusion: She wasn't going going down without a fight.
Source


Treehuggers 3:  There's no substitute for the beauty of nature. 
Source

and my personal favorite...


The Sculpture:  Art from every angle.
Source


It makes you wonder what is hiding behind the rest of my framed thrifted art...

8.06.2012

Total Chevron makeover!

Yesterday I brought you up to speed on the painted progress of my laundry room.  It is the EASIEST way to paint a Chevron design on any wall so check out the shortcuts HERE.  After painting the walls and admiring my handy work I set to create the biggest headache of my life.


I tried to install shelves.  Sounds simple right?  After cutting the boards too short, having to repaint new boards white, not properly installing the screws, ripping a bracket right out of the wall, getting a shelf wedged at a diagonal angle in between the two adjoining walls, tearing patches of my drywall out, cursing while I was standing on top of the washing machine, a third trip to Home Depot, coming home and You Tubing a how-to video, freestyle drilling quarter size holes into the walls, using toggle bolts for the first time, and FINALLY getting the brackets secure I could attach the wooden shelves to them.  Whew!  It will be a VERY long time before I attempt to do anything with a bracket and shelf again!


But... the results do look nice.  I love the look of the vintage brackets and the painted yellow detail on the edge of both shelves. So I might be picking up that drill sooner than I think.  Besides the extra storage is priceless!


Happy Monday folks!  This will be the first and last time I will say that I am excited about catching up on laundry! :)


Joining the party and trying to WOW you this Wednesday! :)

8.05.2012

I'd rather do laundry than math...

Recently, like many of you, I have jumped onto the Chevron style wagon. I am in love with this pattern, and pleased that I am seeing it EVERYWHERE- including Target!  So I decided that I wanted to add another accent wall to my house and upgrade the visual appeal of my laundry room.  I give you the EASIEST way to paint a Chevron pattern!

First here is a quick before peek of what my laundry room looked like a couple of weeks ago. (Yes it took me weeks to finish this... to the dismay of my sweet roommates!)


I removed my painting and primed the wall above the washer and dryer solid white including the ledge.


 Using painters tape, I lined the edges of the wall and then divided it in half with another piece of tape creating two equal halves.  So this is where I should pause and say that I MOSTLY eyeballed the distances and occasionally referred to a ruler.  I HATE math and was eager to finish this project.  So if you want to spend your time doing long division- go for it smarty pants!


Next I divided the two halves in half by adding two more pieces of tape creating four equal sections.


This is the trickiest part.  Starting from the top of the wall (where it touched the ceiling) I measured down the distance that gave me the desired Chevron point.  In my case it was 13.5".  Please keep in mind that you should measure and then tape each point.  If you measure all and then tape later your sections will eventually become uneven and the whole point of this design is to have repetition and even lines.


Because I taped vertical lines in my Chevron design I was able to line my taped points easily without having to go back and trim the edges to make perfect points.  All I had to do was get the zigzag lines to meet on the vertical ones.  Huge time saver!


Using a sharpie I quickly marked a 'G' for my gray sections and 'Y' for my yellow sections on extra pieces of tape.


Then I used a mini roller handle and rolled on my paint filling in my taped off Chevron pattern. 


I let the paint dry and then painted a second coat.  After waiting a couple of more hours I carefully peeled of the painters tape revealing the crisp white paint underneath.  I love the way this wall turned out and soooooo glad that I didn't spend hours measuring everything.


Painting the Chevron was the easy part of the project!  Check back tomorrow to see how I finished the wall off with shelves and vintage brackets. 

8.02.2012

Aug Top 10

August Top 1010Ten.
One. The Wonder Years: I have been re-watching this series on Netflix and I am obsessed!  I want to be Winnie Cooper.  Just need my hair to grow about 6 more inches!


 Two. Cumberland Park- Commonly referred to me as the Riverfront Park.  It is a super cool new green space right in downtown Nashville that allows you to be a kid again.  Heck I still am one and found myself running around at 10 o’clock on a weeknight.  With a stone climbing wall, sand area, tandem see-saw, cloud bridge and interactive splash pad who would ever want to grow up?

 Three. USA.  Olympics.  Gymnastics.  I have been glued to the TV to see how my girl Gabby is going to do.  She is adorable and has killer arms that would rival Madonna’s.  I love the girls team and so proud of them!  Go USA!!!


  Four. Acro-yoga.  It combines acrobatics and yoga.  Seconds after watching this video you will be dusting off your yoga mat and trying to convince your husband, partner, or cat to hoist you up in the air.  I so want to do this!


 Five. Moonrise Kingdom.  Congrats Mr. Anderson, you have done it again.  I found myself so captivated of this new world where it was adorable to carry around a cat, wear knee high socks and just free to be.  My next goal is to become friends with a khaki scout.


 Six. “Heaven Is For Real” I am only a couple of chapters into this one… but I already know that I can’t put it down and I need to know what happens next to this family and sweet 4 year old boy.


  Seven. Name Your Design.  This is a super cool website that let's you customize the absolute cutest things.  I totally ordered a couple of place mats for my two favorite boys.  I must remember this site for kids birthdays from now on!


 Eight. Glow sticks.  We just celebrated my best friend’s birthday with a glow stick party- and it was incredible!  They lit up the party and the glow-in-the-dark chalk on our chalk board wall in the kitchen was a huge success!


Nine.  Just when I thought I couldn’t chalkboard anything else… Pinterest has me considering a new surface. Hmmmm. 

 Ten. Future Plans.  I can’t share exactly what this means yet.  But let’s just say plans were made on a very infamous screened in porch in East Nashville that is leaving me excited, hopeful, and ready to move forward.  God please help us with this one!

7.29.2012

5th Year Wood.

Remember when I said that I was taking a staycation at the beginning of July? And then I only posted one time so far for the entire month of July? About my nails none-the-less.  And I forgot to do a July giveaway!  Ridiculous.  This month for be has been the epitome of summer with cookouts, back yard games of corn hole (yes I live in the south), glow stick birthday parties, and extra hangout time with my favorite people.  This past weekend I took an extra special trip to Louisville to celebrate several birthdays and an anniversary. 

In a group effort to not let our hosts Jill and Caleb’s 5th wedding anniversary get over shadowed during the weekend birthday bash, we made them a gift of wood (the traditional 5th anniversary gift.) 


The inspiration came from a piece of wood that I already had hanging on my wall with a half way decent peacock feather painted on it.  It took me about 2.2 seconds to realize that it would be the perfect canvas for the ‘wood’ themed gift.  So I got out my floor sander and made the top layer of wood and paint disappear.


Then I set to work using a Kentucky map, tracing paper and my favorite fonts to make a large letter ‘H’ (for their last name).  I made sure Louisville made it on the ‘H’ since that is where they call home.  To tie it all together I added their wedding year to the bottom of the wooden plaque.


 Happy anniversary friends!  It has been an amazing to see God work in your lives and marriage during these past 5 years!  We love you!

7.15.2012

Read my nails

So my staycation ended up lasting longer than I had planned.  Oops.  Hopefully you didn't forget about my blog as fast as I did.  I got a little too comfortable watching reruns of The Wonder Years and putting off projects.  By the 10th episode, I didn't want to move off the couch but was a little ready to do SOMETHING.  So I tried to upgrade my fancy nail.

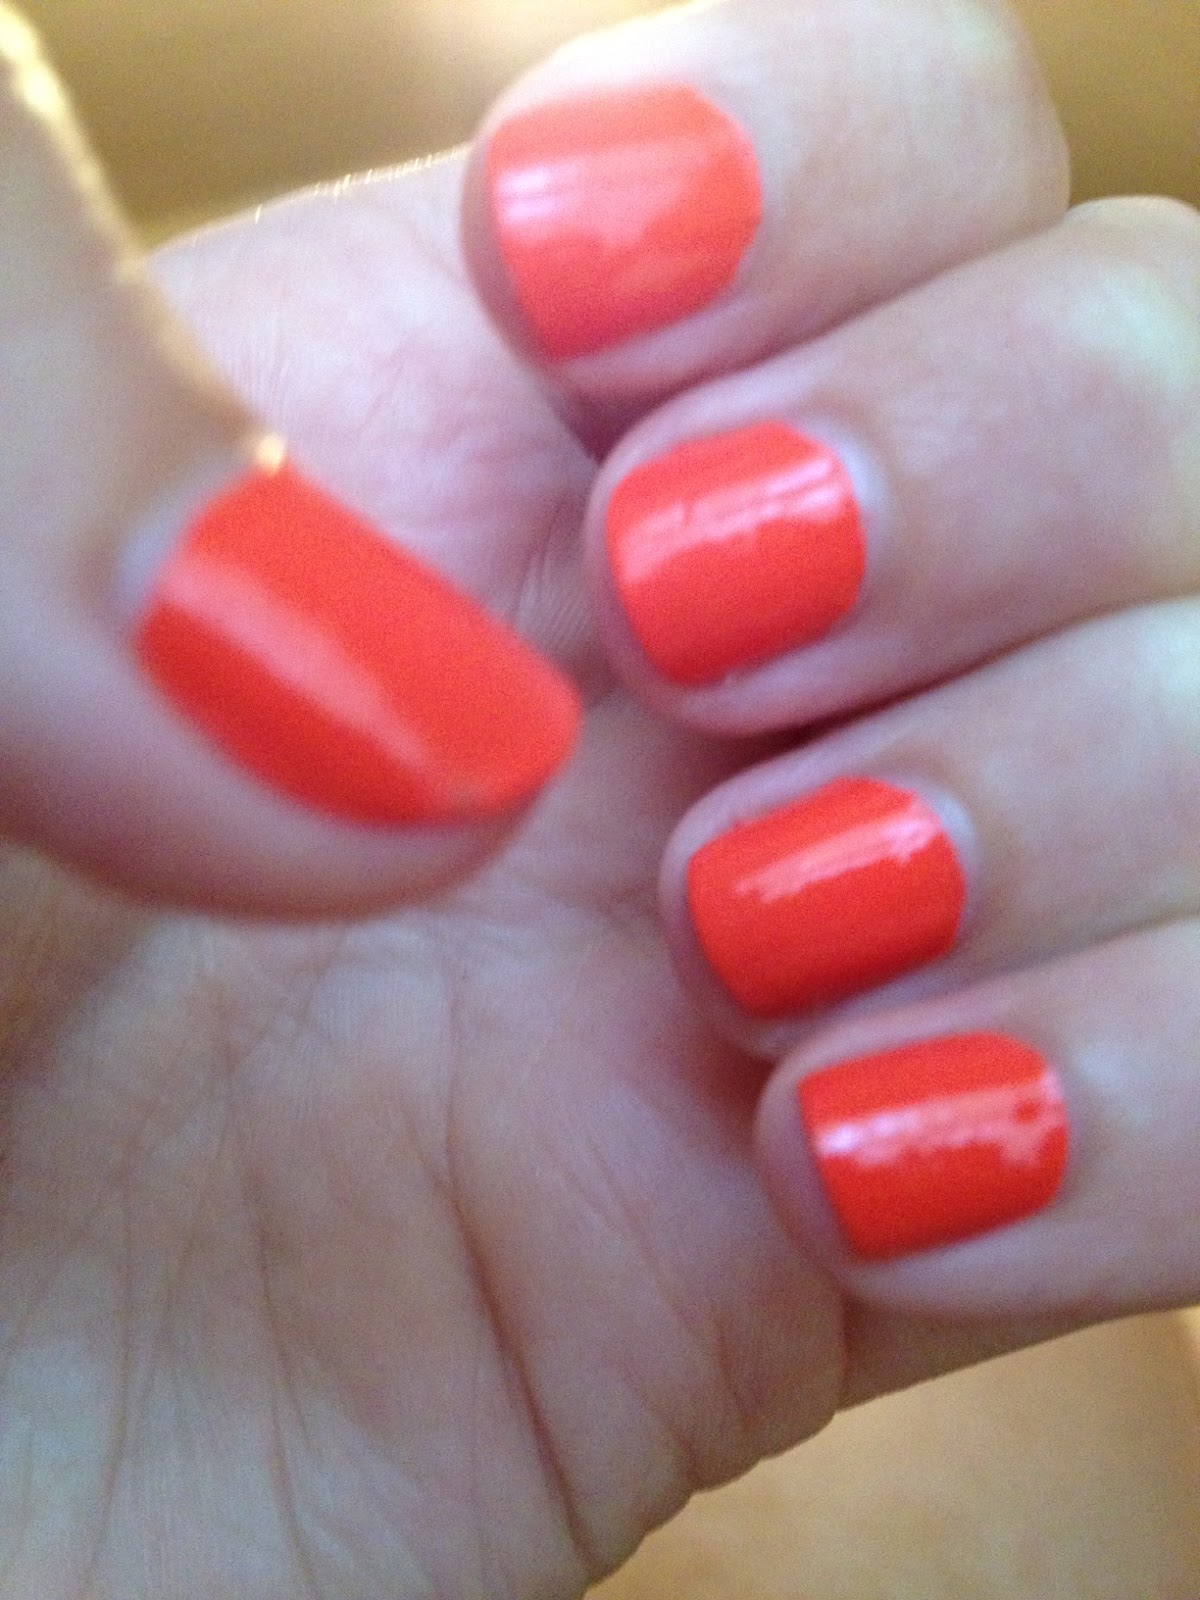
This is what my current nail situation looked like.  They were patriotic but now more like a disgrace to our country.


And this is what I needed to turn them around:

I removed the faded glory and put new coats of Sally Hansen's Shell We Dance and Barracuda on my ring finger.
Once the paint was dry I then dipped my nails into rubbing alcohol and held my finger in the cup for about 3-5 secs. (Do this one nail at a time.)


Then I carefully placed a pre-cut piece of vintage dictionary on my thumb nail.  I held it in place for about 30 sec.  NOTE: I tried different methods here.  Wetting the paper didn't make a difference.  'Real' scrapbook paper wasn't that great of a result.  Shortening the time of pressing the paper made less of a sticky mess but didn't have the greatest transfer results.


Don't be alarmed when the paper sticks to your nails.  At least this is what happened to me every time.  After applying the dictionary pages to each nail I simply washed my hands with soap and water.  An occasional paper fiber will stay behind but once I painted a clear coat I couldn't really notice anymore.


Things to keep in mind:  The font/design should be on the smaller side.  Your type will be reversed, so if you want to actually be able to read it, print off a mirror image so when placed on your nail it will be right side up.  IF you are a perfectionist I don't recommend doing this before going out in public.  It takes a couple a tries to get it right.

Also, I don't recommend doing this project near painted furniture.  My coffee table is the closest thing the to couch (remember I was vegged out pretending I'm Winnie Cooper).  So this could happen to you. 


Guess I know how I will be spending the rest of my Sunday!  Hope you guys had a glorious 4th of July, and an amazing past two weeks!

7.01.2012

July Top 10


*JULY TOP TEN*

1* The 4th of July- It's one of my favorite holidays!  Anything red, white and blue- sign me up!
Source

2* Fireworks- As long as people aren't blowing off their fingers, I can’t get enough. 


3* Searching for God Knows What- This book by Donald Miller has completely changed my attitude this week about my faith and selfishness.  This is one that I need to re-read over and over.


4* Jeni’s Splendid Ice cream- I recommend the Salty Caramel!  P.S. They ship their flavors!


5* Initial rings from Urban Outfitters- You know I got a ‘B’ and an ‘S’.


6* Nail polish Heat Wave- Nothing could describe or be more perfect for Nashville’s weather this week.


7* Braid- I would kill for my hair to look like this.
Source

8* Meet Lint- he thinks he is a condiment and should be put on everything.


9* Honky Tonkin in Nashville- get out to Roberts on Broadway downtown Nashville.  Someone will take you out for a two-step!

 
10*  Staycation: Taking some much needed time off to just sit and relax.  Also unplugging for a week so see you next Monday!

Source